

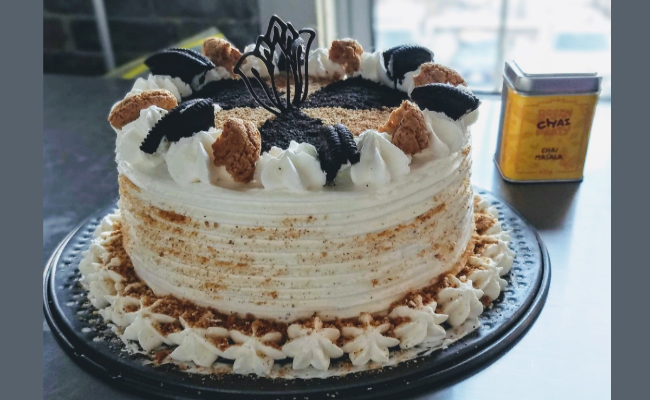
Chai Ice Cream Cake

My friend at work (the other work when I’m not making chai) made this incredibly delicious chai ice cream cake and I was blown away by how good it was.
So Risa loves to make all kinds of stuff. Over the past 2 years, I can attribute my failure to lose weight to pretty much all the cake and ice creams and cookies that I have access to at work. Now I’m not saying that Risa is solely to blame for that but she does make REALLY good baked goods!
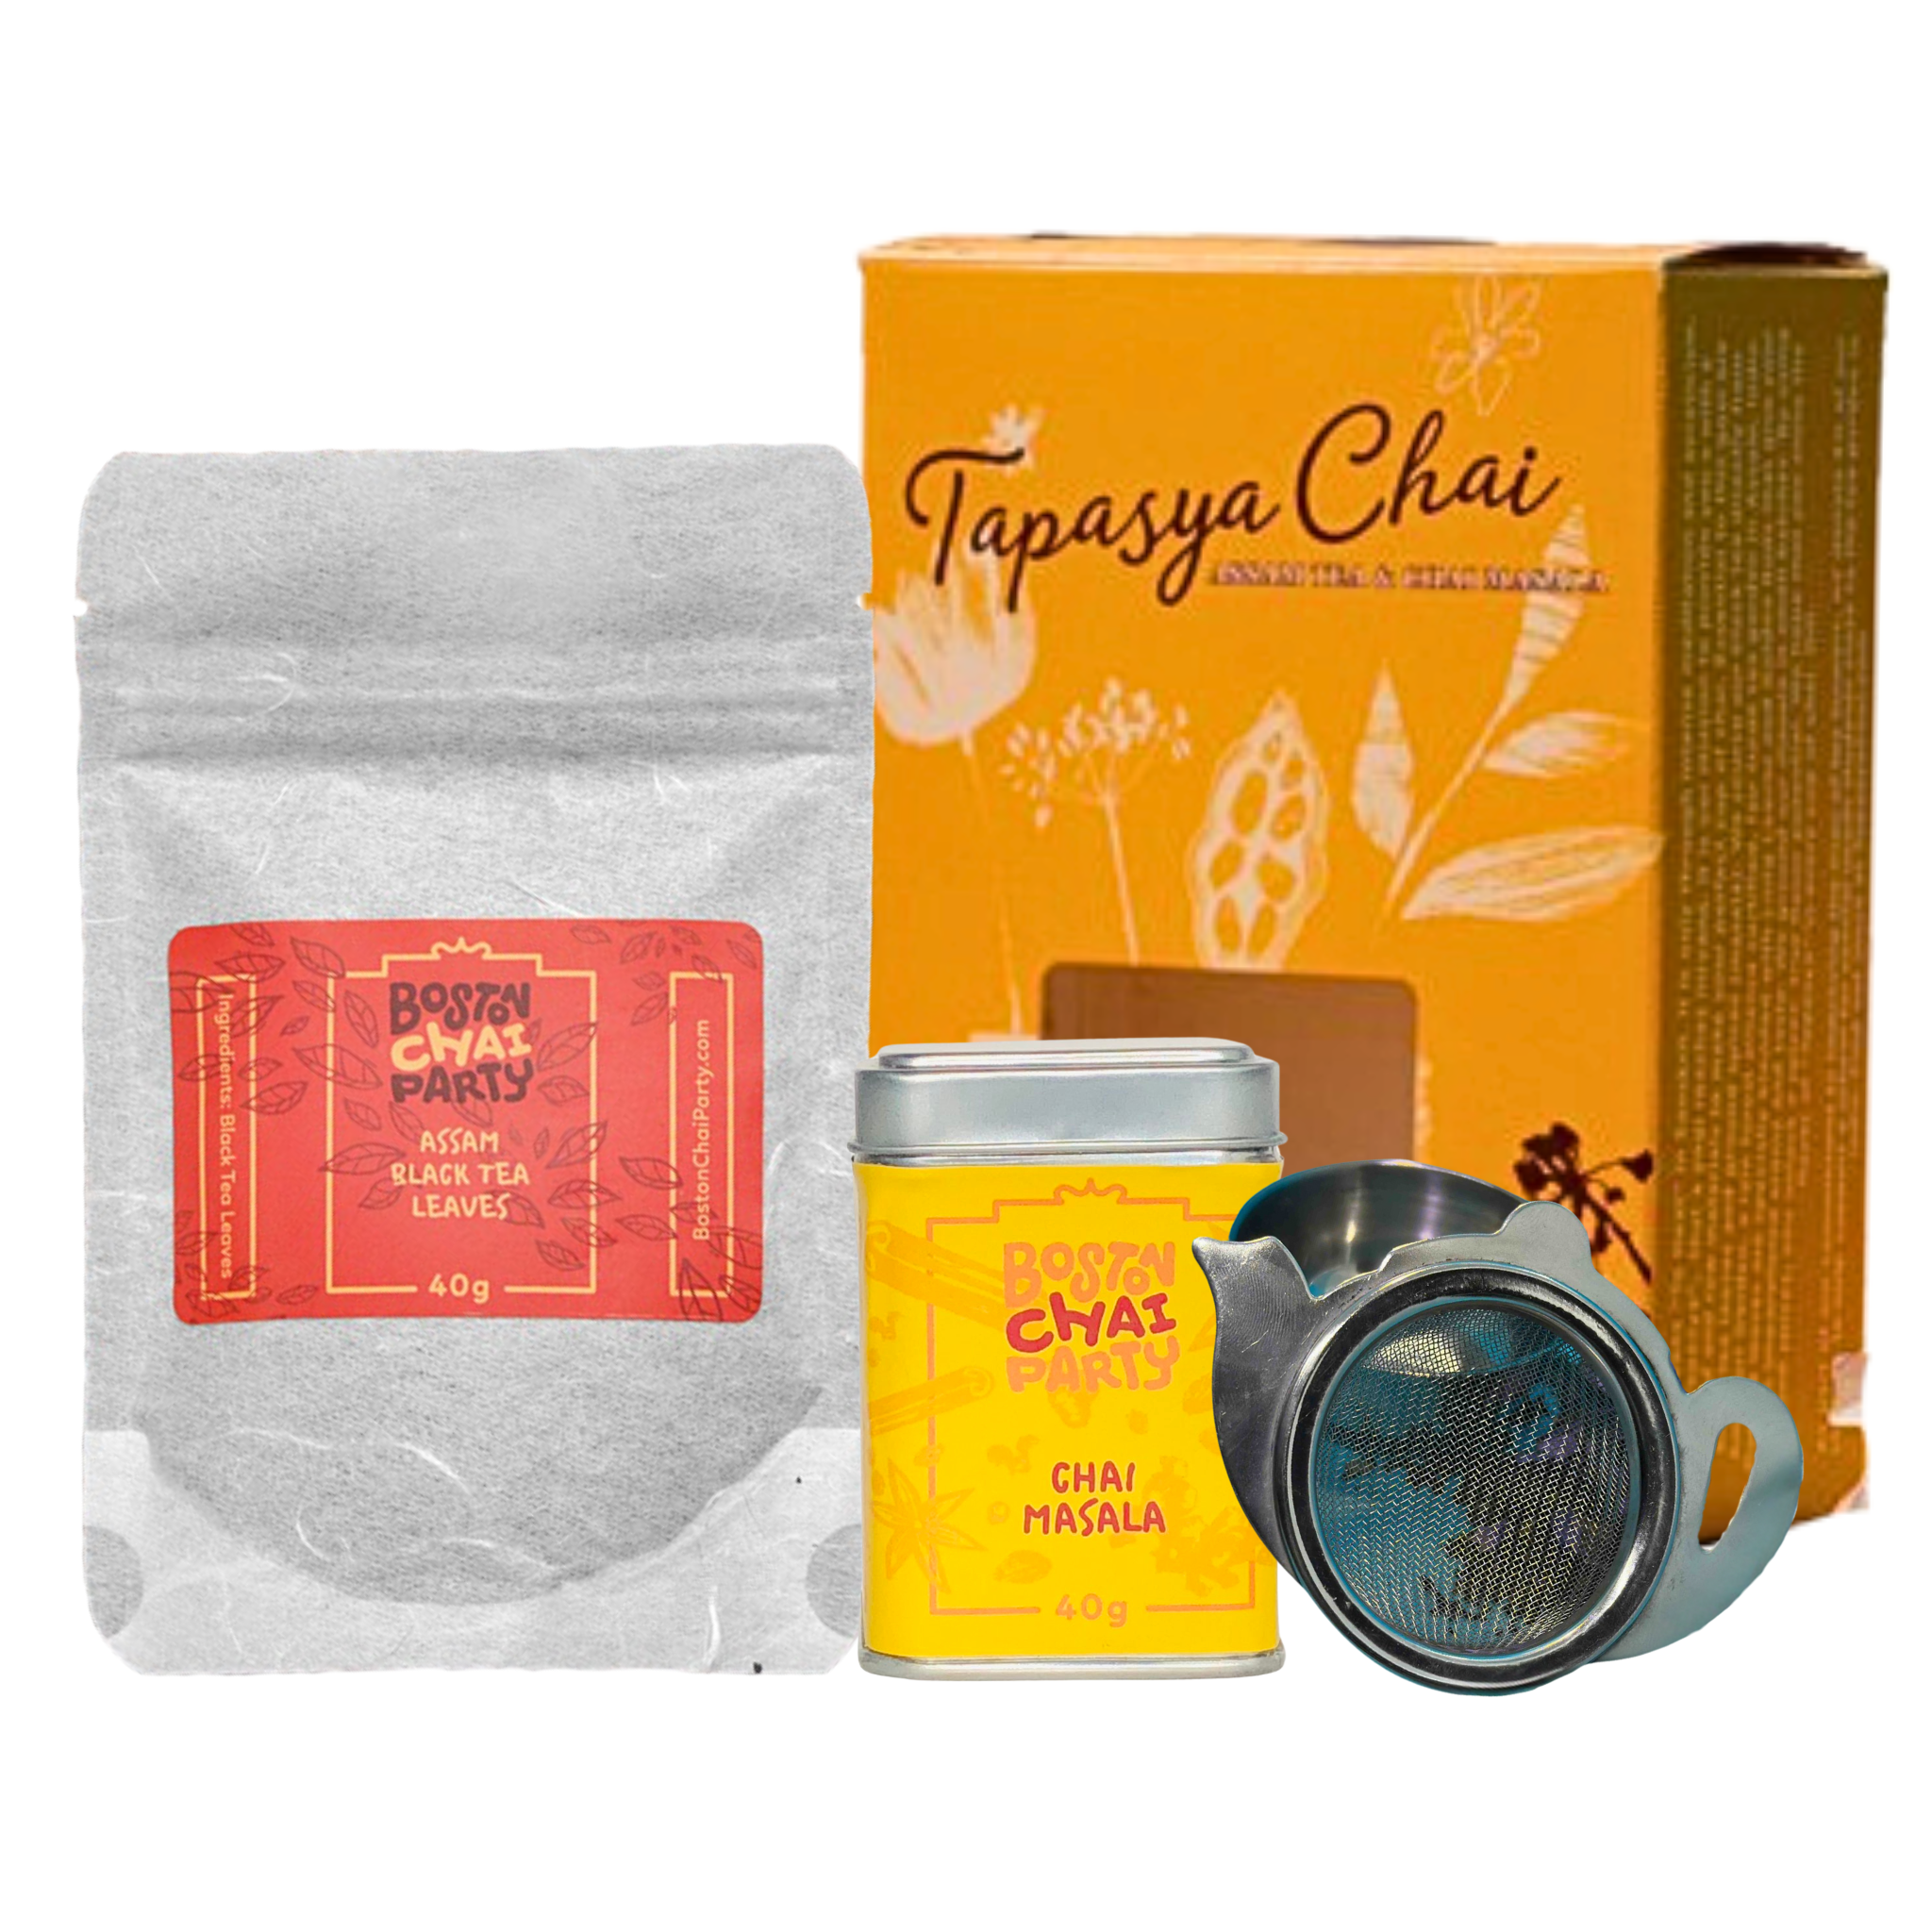
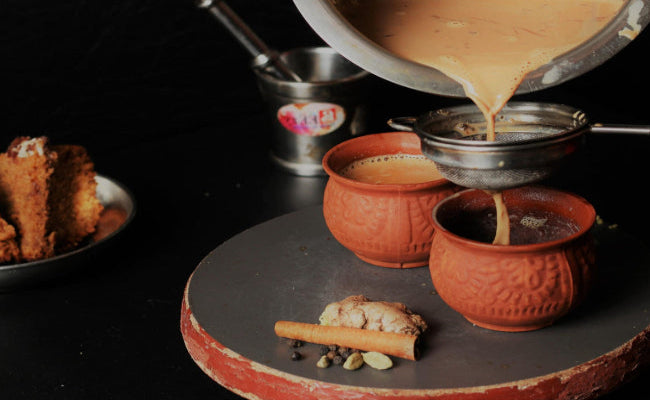
It all started with a simple conversation about chai and how chai masala can be used in baking. So like any scientist given a hypothesis, we decided to test it out with an experiment! Risa agreed to make some Ice cream with it if I gave her some of the famous Boston Chai Party - Chai Masala. You can see it in the pic above with the cake, but here is another pic below:

So the first thing that Risa created was an ice cream and I’m sorry for the poor picture quality as it does not do any justice to the quality of ice cream that turned out with this chai masala!
Here's the recipe according to my friend, Risa.
Chai Ice Cream Cake
1 small cake (6 servings)
For the ice cream:
- 1 cup whole milk
- 3/4 cup (150 g) sugar
- 4 tsp Boston Chai Party - Chai Masala
- pinch salt
- 2 cups heavy cream
- 5 large egg yolks
1. Warm the milk, sugar, chai masala, salt, and 1 cup of cream in a medium saucepan over medium heat, stirring until heated through and sugar dissolved.
2. Cover, remove from heat and steep for 1 hour.
3. Rewarm the milk over low heat.
4. Put the remaining 1 cup cream in a large metal bowl and place a fine mesh strainer on top.
5. Whisk egg yolks in a medium bowl.
6. Temper the warm milk into the egg yolks, then return all to the saucepan.
7. Stir the egg mixture over medium heat with a heatproof spatula until it thickens to a custard and coats the spatula.
8. Strain the egg mixture into the cream in the metal bowl and stir until smooth.
9. Refrigerate the custard until fully chilled, stirring every so often so that a skin doesn’t form.
10. Churn the custard in the ice cream maker according to manufacturer’s directions.
11. While the ice cream is churning, line a 1 quart dish (I used a Pyrex) with 2 sheets of cling wrap, crossed so that all surfaces are covered.
12. When the ice cream is finished, scoop into the lined dish, smooth and cover the top with the cling wrap, and freeze overnight until solid
For the decoration:
- 1 cup heavy cream
- 2 Tbsp powdered sugar
- 1/2 tsp vanilla
- 1 cup Oreos
- 1 cup amaretti cookies
- 1/4 cup chocolate chips
1. When the ice cream is frozen, prepare the freezer for cake assembly by pre-freezing 1-2 metal cookie sheets.
2. In a metal bowl, beat cream, powdered sugar, and vanilla until whipped cream consistency. Refrigerate until ready to use.
3. Remove the ice cream dish from the freezer, and use the cling wrap to pull the ice cream out of the dish. This will be tricky, but have patience.
4. Turn the ice cream upside down and use dental floss to square and smooth the top.
5. Use dental floss to cut the cylinder into 2 layers and lay the layers on the cookie sheets to re-freeze.
6. Pulverize the Oreos in a food processor until fine crumbs, then repeat with the amaretti cookies.
7. Place the bottom layer of ice cream cake onto the serving dish, then sprinkle on a dense layer of Oreo crumbs, then top with the second layer of ice cream. Return to the freezer to re-harden.
8. Remove the cake from the freezer and use an offset spatula to smooth the sides and top.
9. Use another spatula to scoop the whipped cream onto the top of the cake and spread down the sides. I then used a notched icing comb to make pretty lines around the outside of my cake, but you can leave it more homemade or do another design.
10. Pipe rosettes around the top and bottom of the cake, then return to the freezer to harden.
11. Melt the chocolate chips in the microwave, then pipe a design onto a sheet of wax paper and put in the fridge to solidify. I chose a lily flower.
12. Create a design on the top of the cake with the Oreo and amaretti crumbs. I cut a template out of card stock to create the triangle design, but you can do anything you like. I then sprinkled more amaretti cookies down the sides, which look a bit like sand and give it more depth.
13. Cut remaining cookies into quarters and stick alternating between the rosettes on the top of the cake.
14. When the chocolate is hardened, stick the design into the top of the cake.
15. Make sure to remove from the freezer a bit before serving so that you can easily cut the cake!
Future improvements:
To make this absolutely perfect, Risa suggests to add a layer of Oreos between the bottom ice cream layer and the serving dish to get an additional Oreo punch and to make serving a bit easier. She also suggests to layer the Oreos between the layers when the ice cream’s a bit more melty to improve adherence between the layers, because they slid apart during serving.
She also made some chai-chocolates with the leftover masala that she had. I’m not sure how she does it, making such delicious treats, but I’d like to believe that having the best ingredients like Boston Chai Party Masala might be a good starting point!


%20made%20this%20incredibly%20delicious%20chai%20ice%20cream%20cake%20and%20I%20was%20blown%20away%20by%20how%20good%20it%20was.%0ASo%20Risa%20loves%20to%20make%20all%20kinds%20of%20stuff.%20...)